This project is now available as a Keyfob Kit at Tinkersoup!
Here you can build your own key-fob-duino! It runs with 6 to 12 V. You can use the chip from an old Arduino or get a pre-programmed one and program it with an Arduino UNO.
You will need the following components:
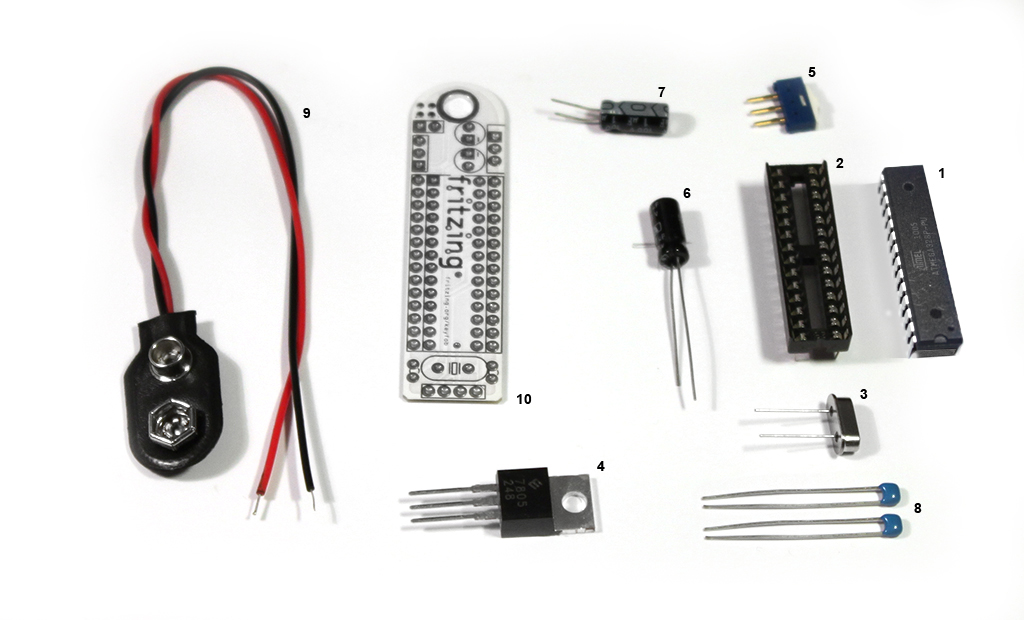
- 1x ATMEGA328 IC with Arduino Bootloader
- 1x IC Socket 28 pins
- 1x crystal 16 Mhz
- 1x voltage regulator 7805
- 1x sliding switch
- 1x electrolytic capacitor 100µF
- 1x electrolytic capacitor 1µF
- 2x ceramic capacitor 22pF
- 1x battery clip
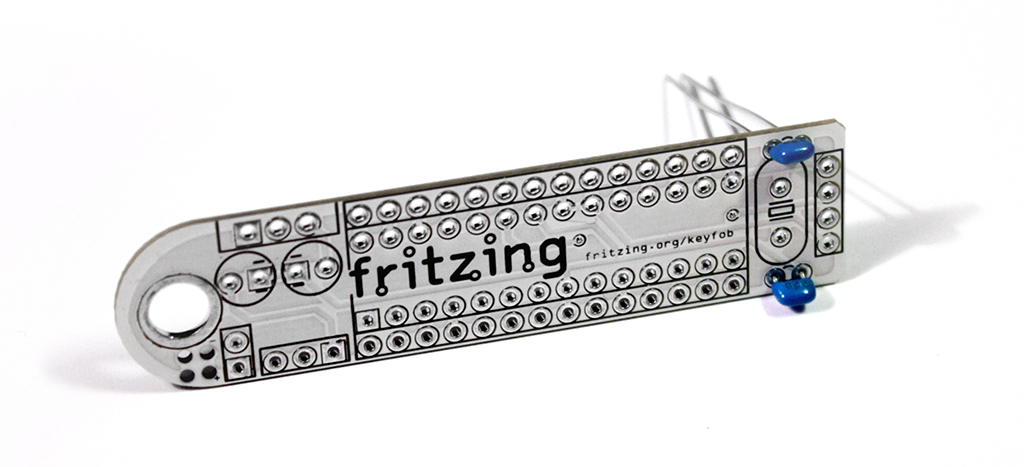
- 1x Platine Fritzing KeyFob
Let’s start with the ceramic capacitors.
Put them into the holes and bend them so they won't fall out when you turn the PCB.
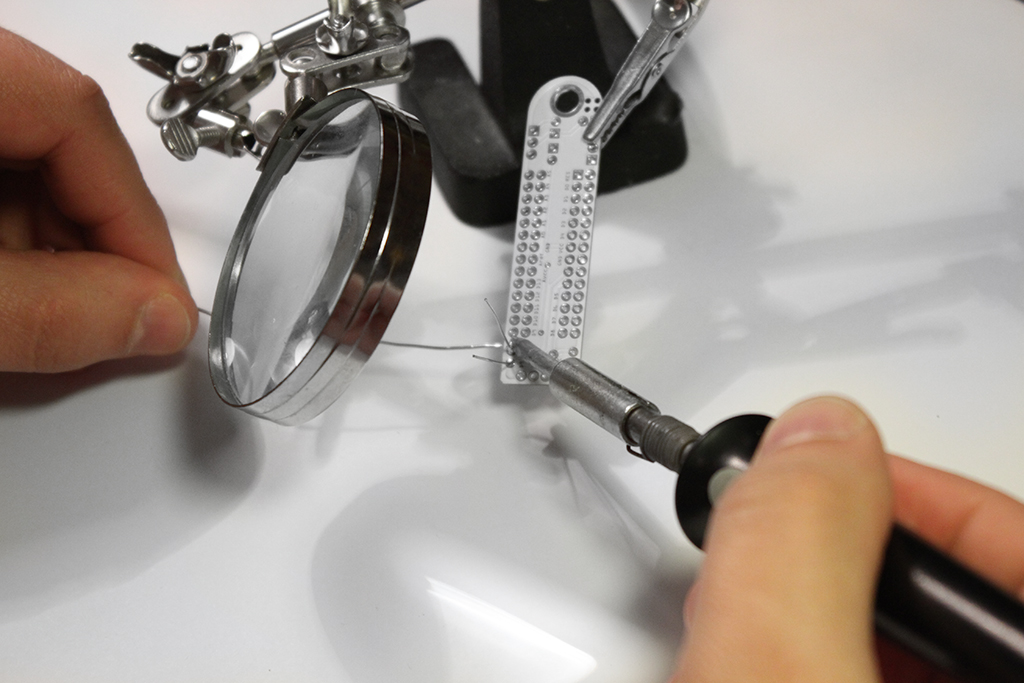
Solder them from the backside.
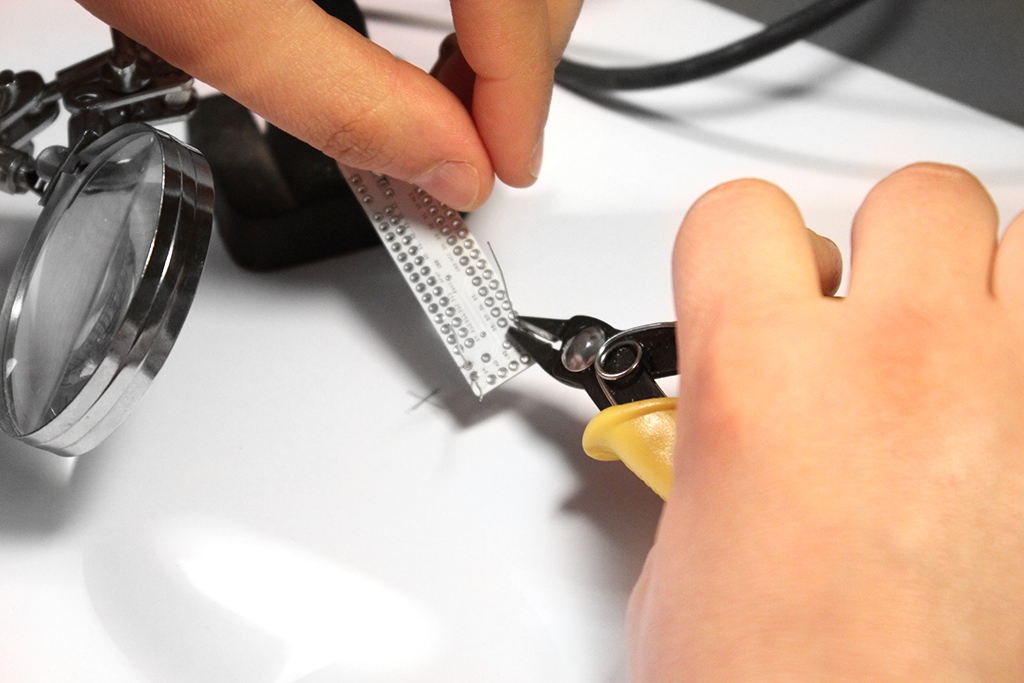
Now cut the legs as plain as possible.
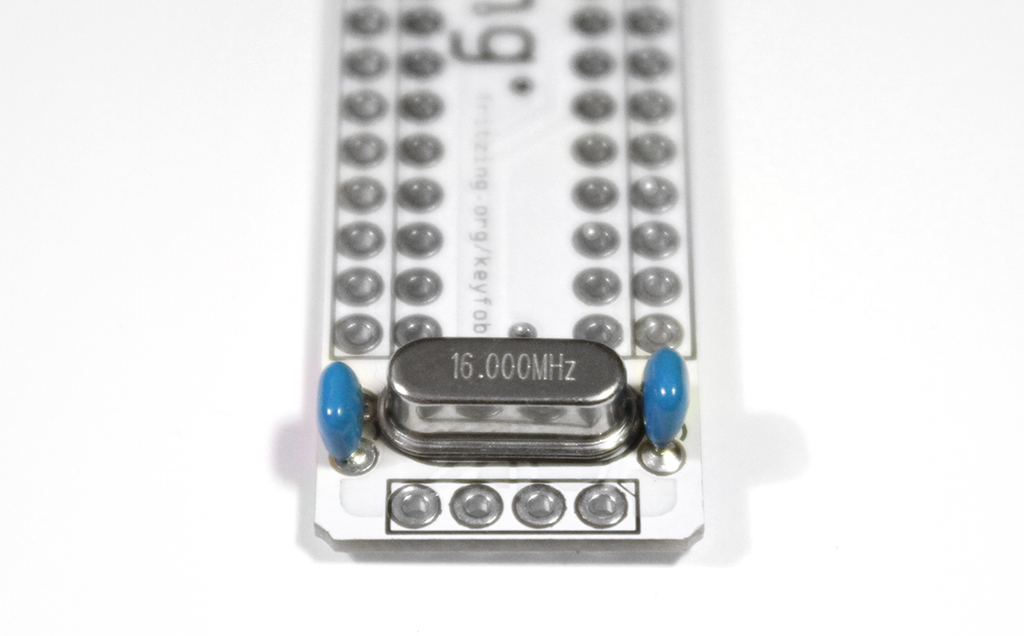
Now put in the crystal and solder it, too.
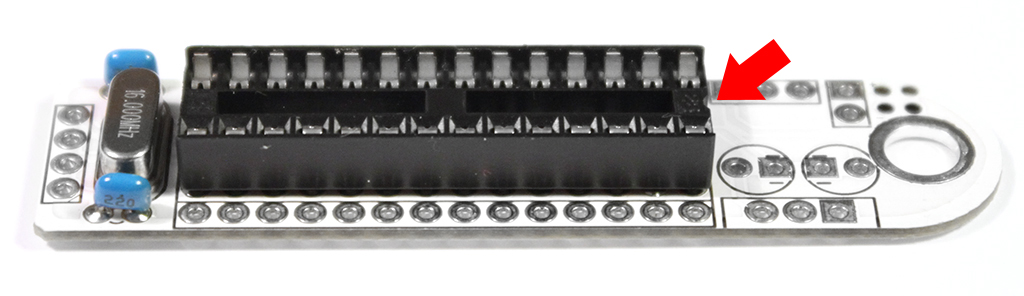
Next step is the IC socket. It has a cut out on one side. Place it like in the picture.
Then bend the pins at the very end of it. Solder them and check if the socket is straight. If not, heat up the soldered spots again and rearrange the socket.
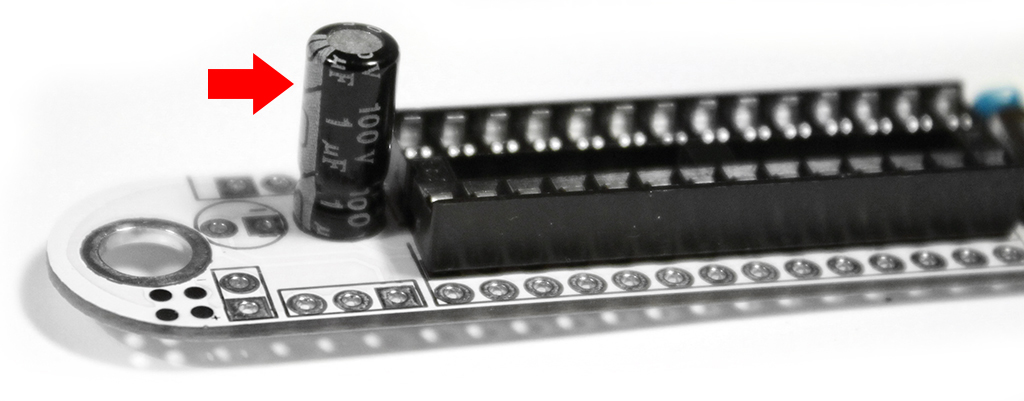
The electrolytic Capacitors have to be soldered in the right orientation. The white mark is the GND and has to be in the »minus« labelled hole. Start with the 1uF Capacitor like shown in the image.
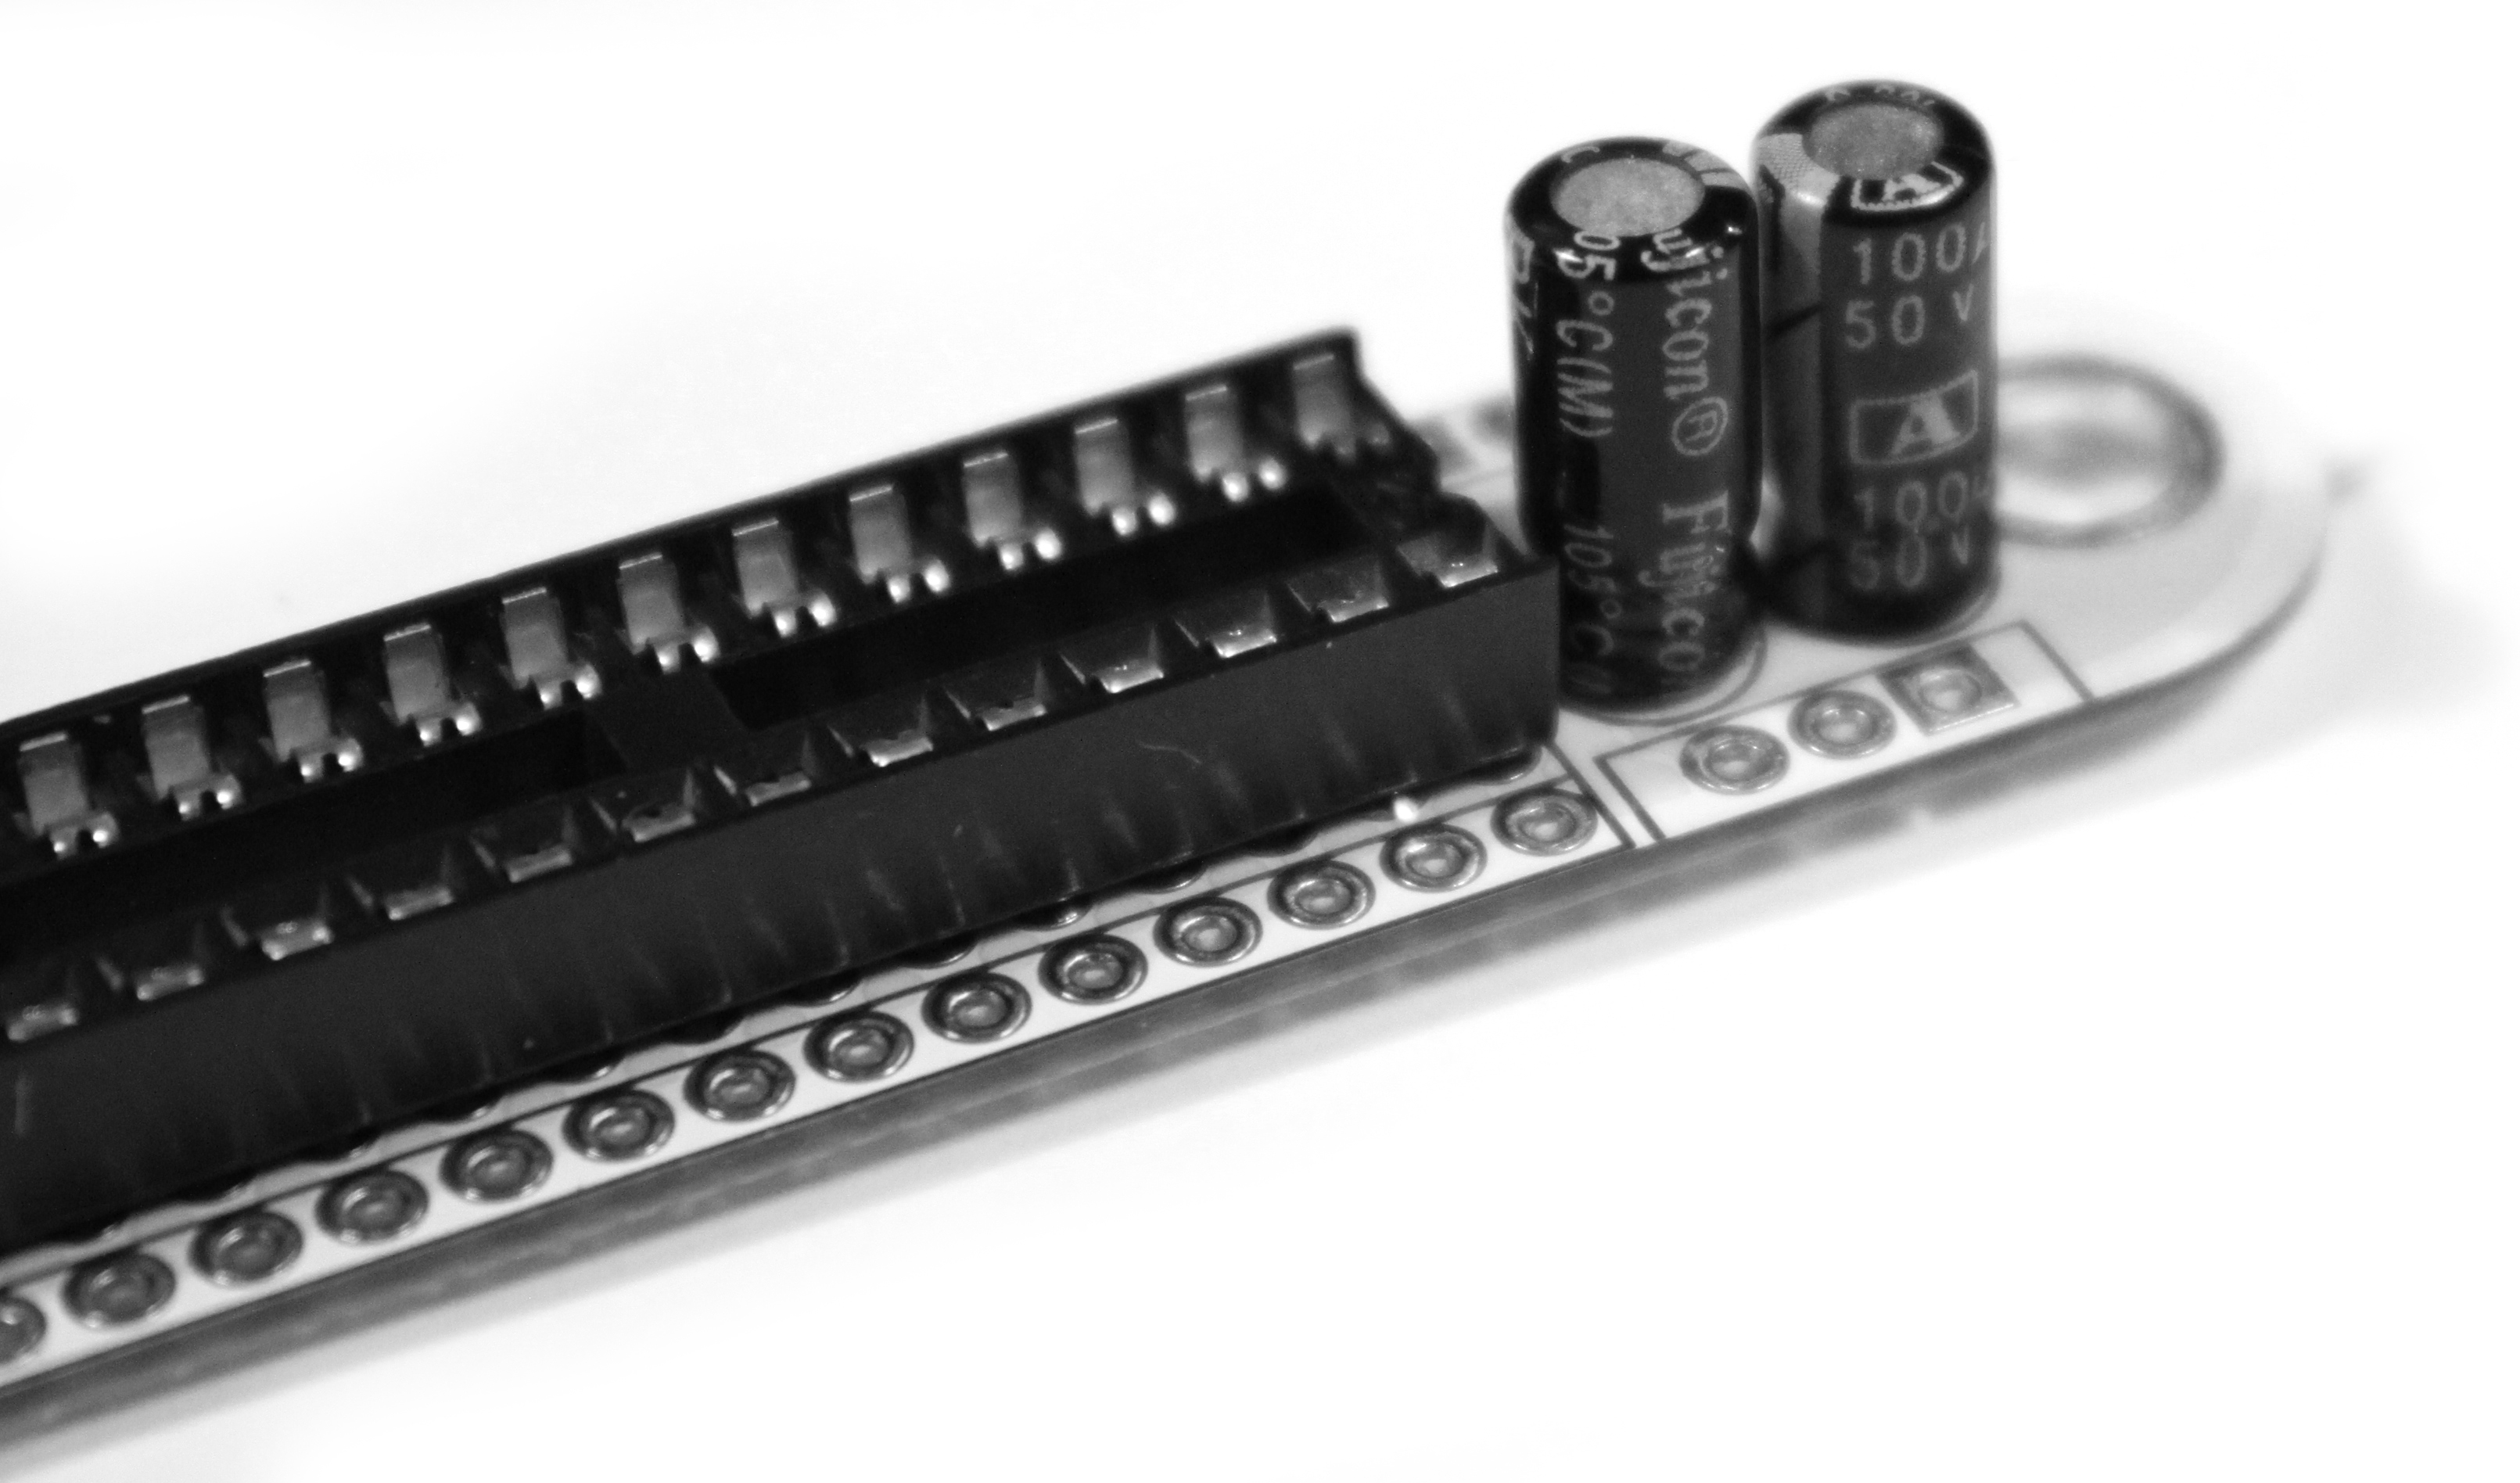
Do the same with the 100uF Capacitor.
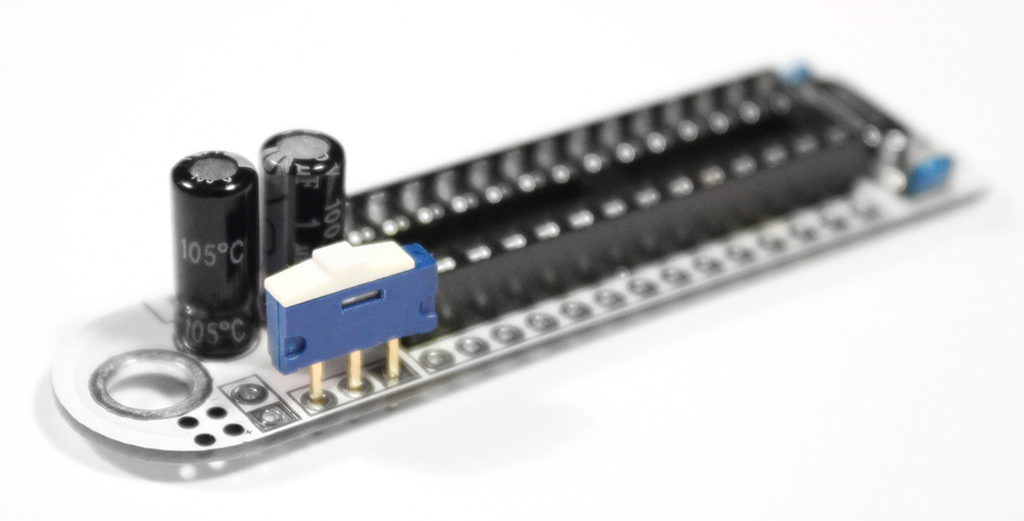
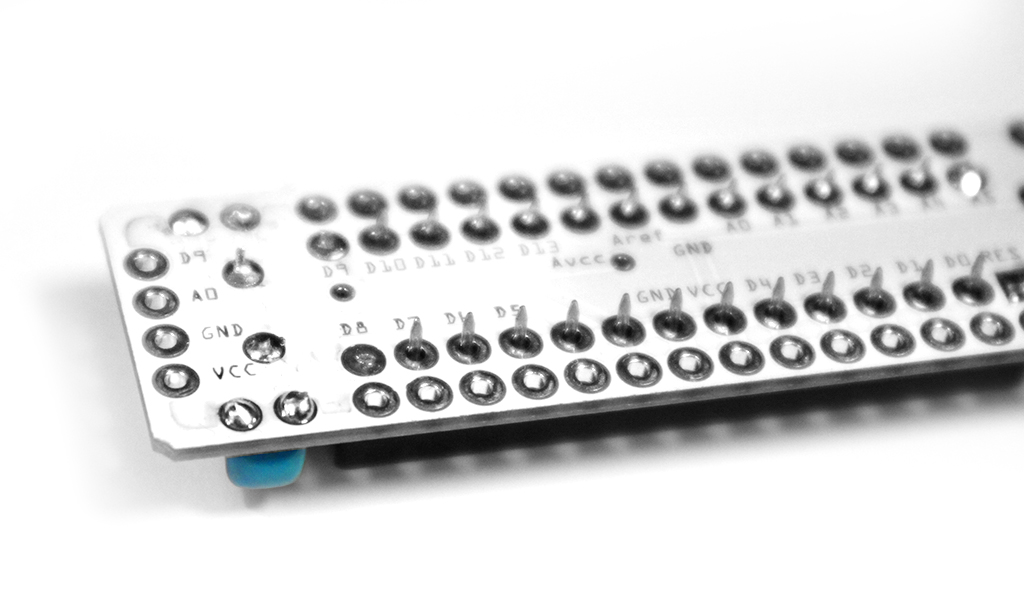
Solder the button in the holes next to the power connections.
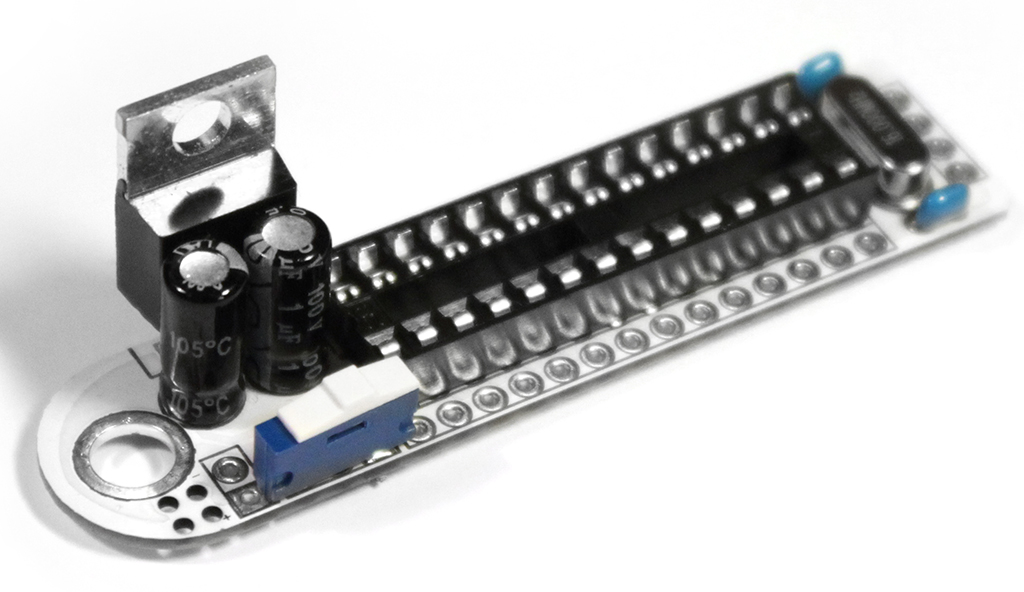
And solder the voltage regulator, too. The heatsink (metal flag) should face away from the board.
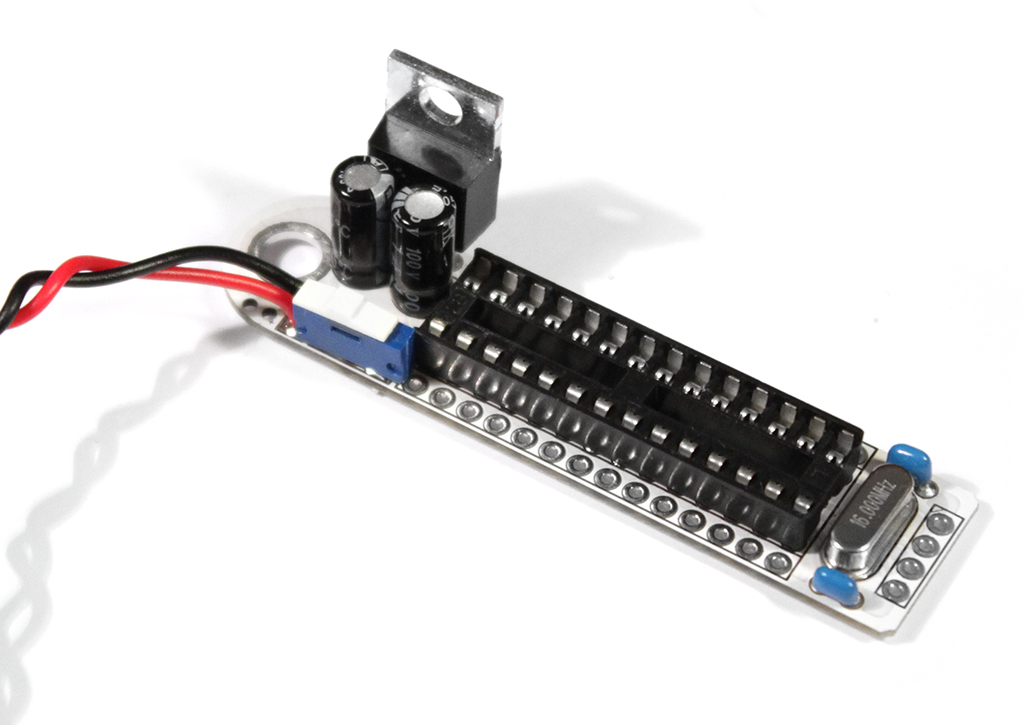
Now, solder the battery clip to the power pins. The red cable is - plus, the black - minus. The pins are labelled with + and -.
Actually, you only have to put in the ATMEGA328 chip, but since you have to program it, snap it onto an old Arduino UNO.
Program it with the program you like & put it out and stick it into the Fritzing Key Fob.
Suggestion
Use the awesome Adafruit Neopixel stripes. Download the Adafruit library (NeoPixel Library) and put it into your libraries folder of Arduino. Open the Example > Adafruit_NeoPixel > standtest and change the lines
#define PIN 6
to
#define PIN 9
Adafruit_NeoPixel strip = Adafruit_NeoPixel(60, PIN, NEO_GRB + NEO_KHZ800);
to
Adafruit_NeoPixel strip = Adafruit_NeoPixel(30, PIN, NEO_GRB + NEO_KHZ800);
Upload it to the Arduino, detach it from USB and pull the chip out. Attach it to the Key Fob.
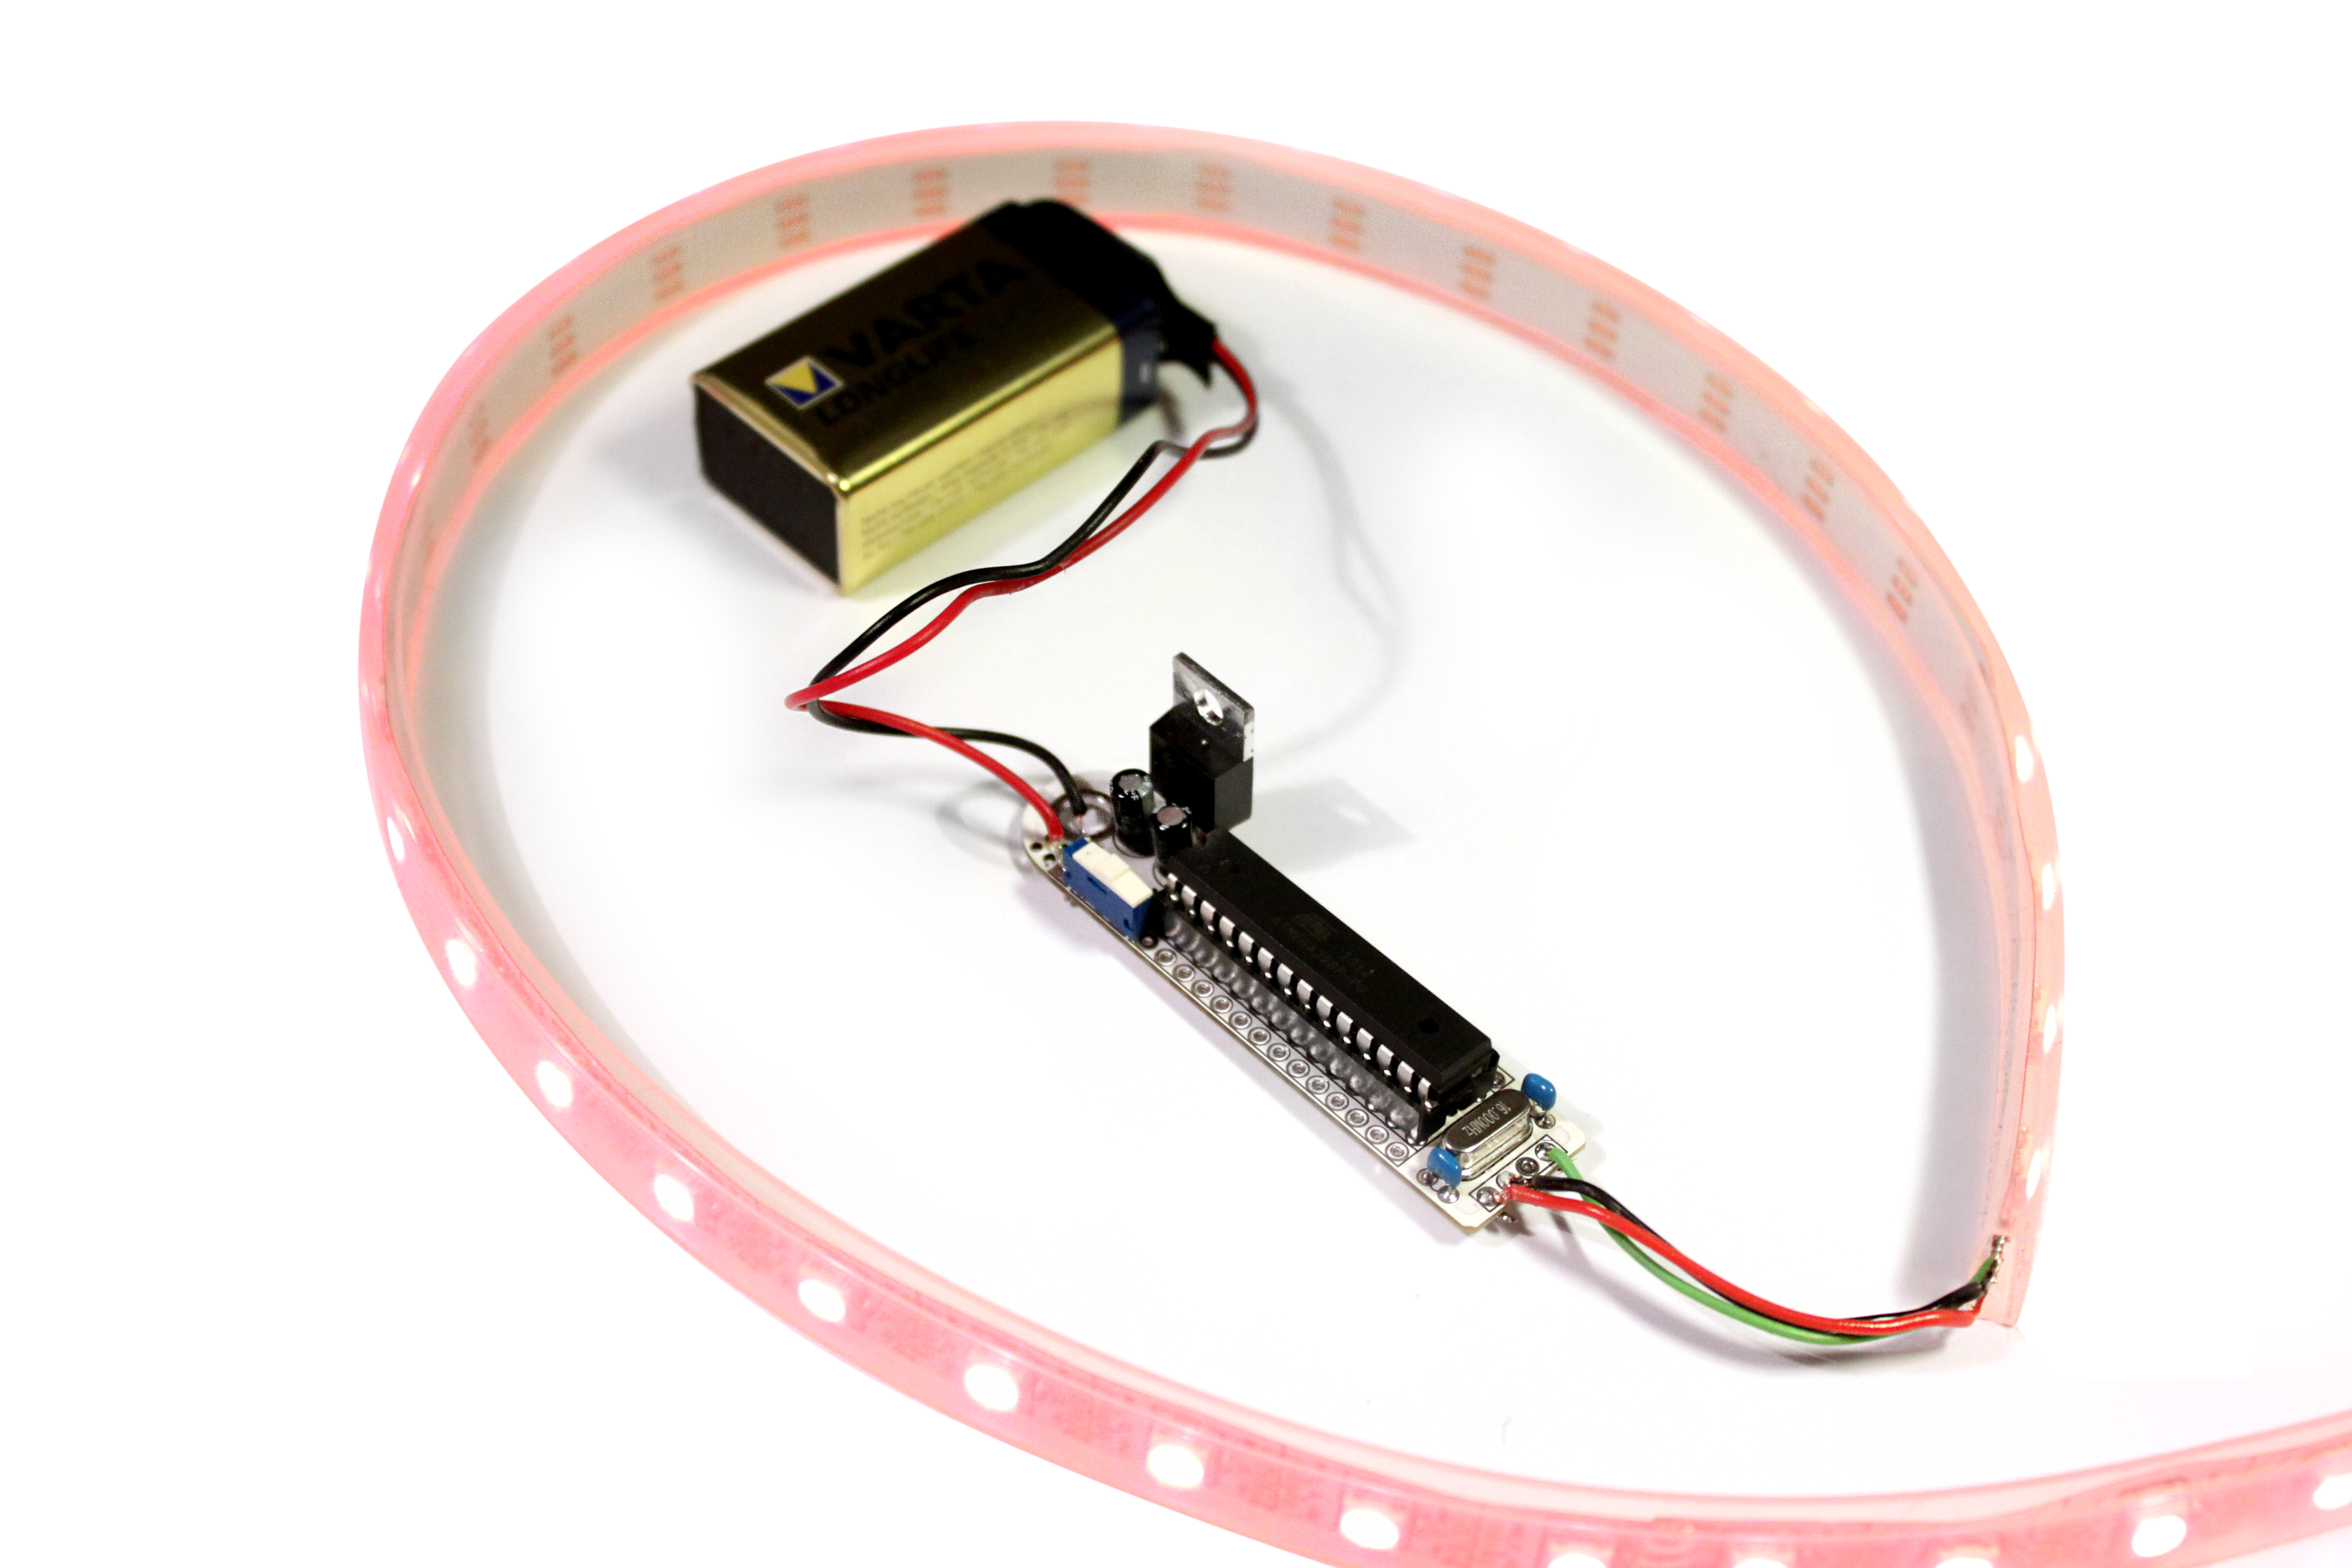
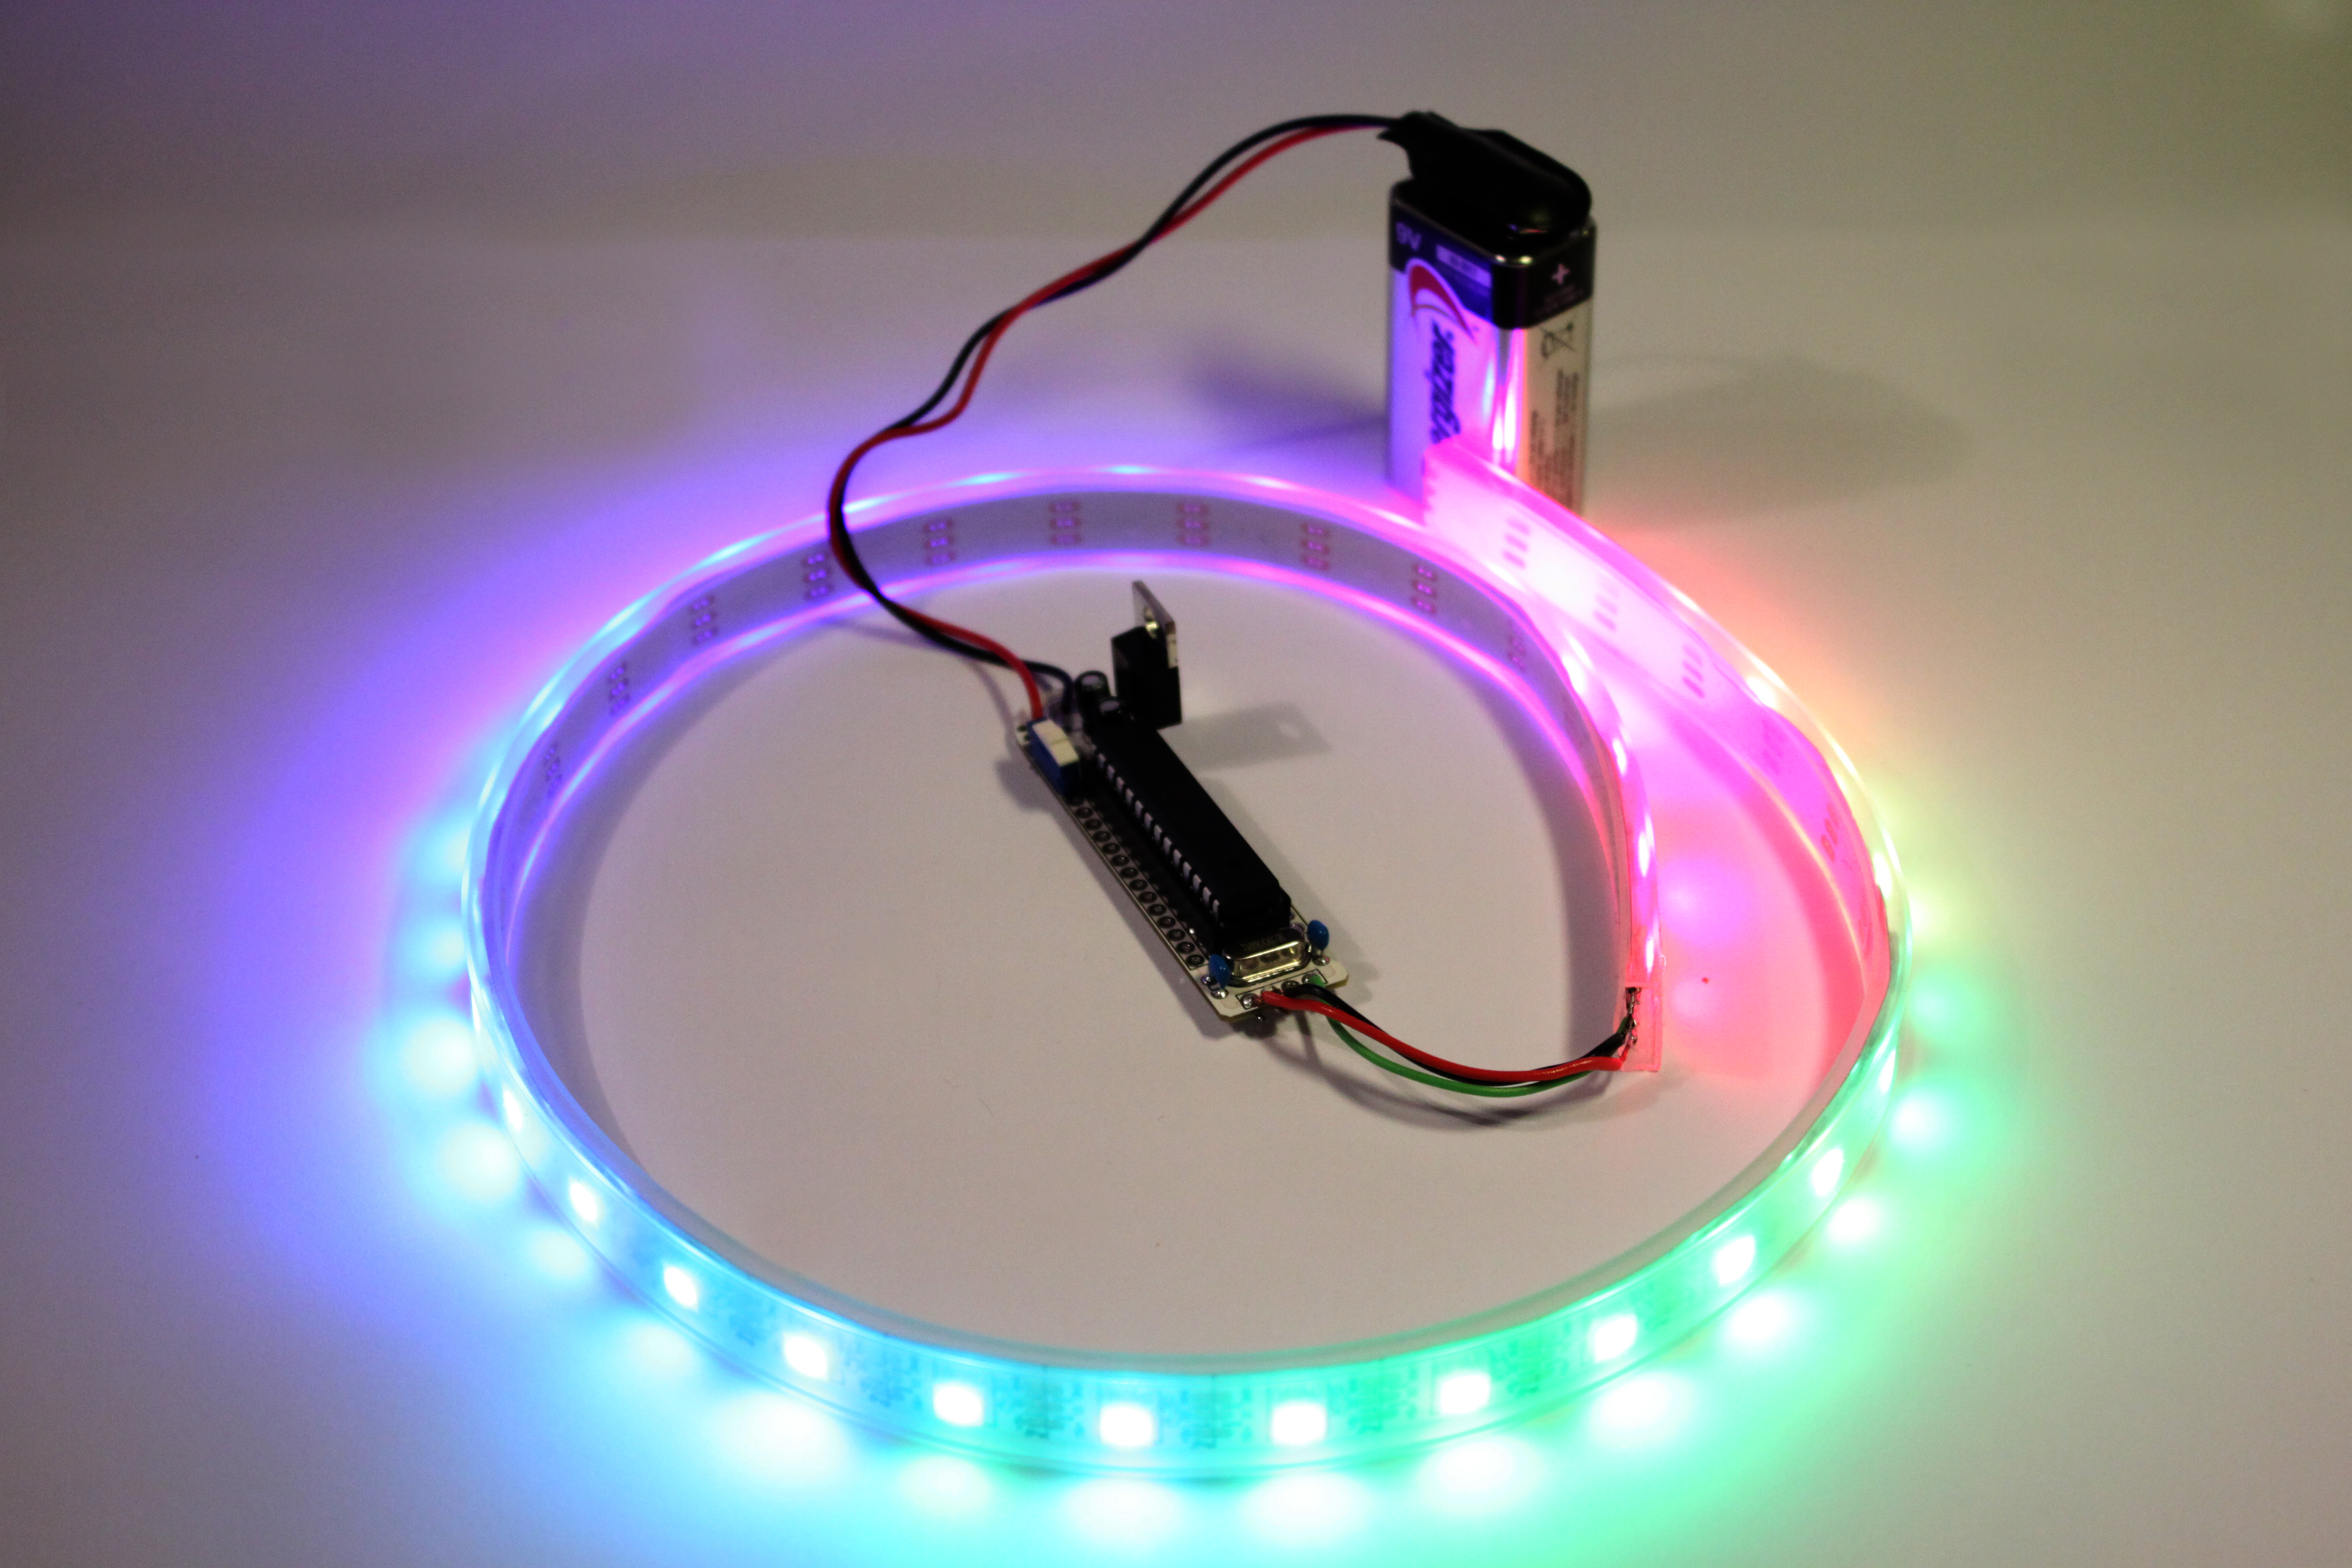
Cut the stripe to a length of 30 LEDs and solder it to the Key Fob like shown in the image. Remember to solder the »Date In« side of the strip!
Now take a battery, switch it on and enjoy the show :-)