We released a new parts editor in version 0.7.9 of Fritzing, so these tutorials are currently out of date. The instructions about how to create graphics outside of Fritzing are still correct, but the specifics of how you use Fritzing's parts editor have completely changed! For more info see this blog post.
To specify all the necessary information about a new part, fill out or modify the following fields. Be sure to check your part's data sheet for exact specification.
- Name - it is sometimes useful to choose a name which is descriptive, specifying for example color and size.
- Label - helps keep track of the parts in your circuit, by numbering your parts based on this label. For example, LED1, LED2. When you are ready to manufacture a PCB, this will be extremely helpful in figuring out which part gets soldered where.
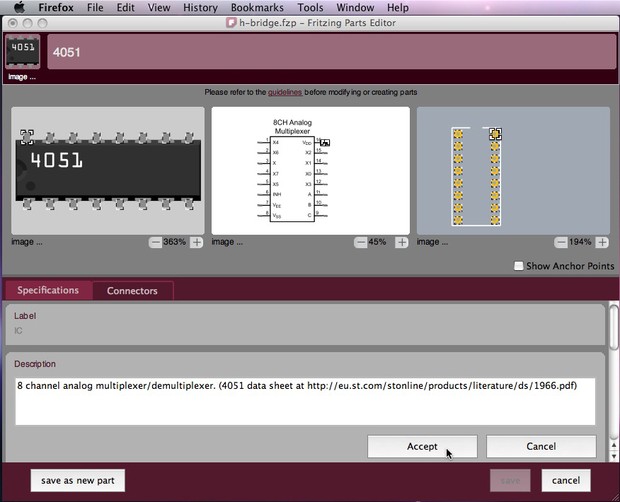
- Description - A brief description about your part that gives a few useful details, tips or links.
- Properties - the part's technical characteristics. Enter all of the distinguishing features that make your part unique. First enter the family your part belongs to such as, LED, photo resister, etc.
- Tags - makes your part findable. Enter words into the Tags field that will make your part show up in a search. Family should always be one of these tags.
- Author; Created/Updated on - Let your friends know how cool you are, enter your name! While you're at it, let them know when you were that cool.
When you are done defining the part specifications, go through it once again to make sure all necessary information has been inserted.
In the next step, we will define our part's connectors.