We released a new parts editor in version 0.7.9 of Fritzing, so these tutorials are currently out of date. The instructions about how to create graphics outside of Fritzing are still correct, but the specifics of how you use Fritzing's parts editor have completely changed! For more info see this blog post.
When your project involves a part that does not exist in Fritzing's core part library, and the part cannot be created using a generic part, you will need to use Fritzing's built-in Part Editor.
Before using the Part Editor, you should think whether it makes sense to build your part from scratch, or maybe there is already some part in the library which has similar graphics that could be modified. You could then change whatever needed and save the part as a new one. This will surely save a lot of time.
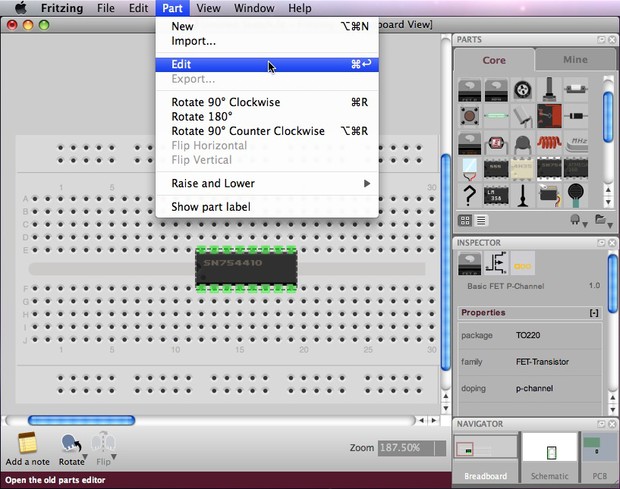
To modify an existing part, select a part in the Project View and then Part > Edit .
To create a part from scratch, open the Part Editor under Part > New in the menu bar.

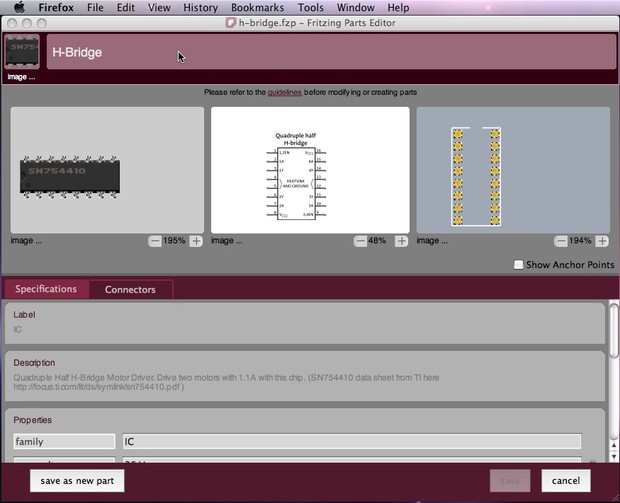
At the top of the Part Editor you will find the name field. Lets start by naming our new part.

Further down is the part's graphic fields as well as the part's properties which are arranged in two main categories: Specifications and Connectors.

In the next step, we will go through the process of providing part graphics.